Plugin Tutorial » History » Revision 5
« Previous |
Revision 5/119
(diff)
| Next »
Jean-Philippe Lang, 2008-08-10 18:14
- Table of contents
- Plugin Tutorial
Plugin Tutorial
Creating a new Plugin
Open up a command prompt and "cd" to your redmine directory, then execute the following command:
% ruby script/generate redmine_plugin PoolsThe plugin structure is created in vendor/plugins/redmine_pools:
      create  vendor/plugins/redmine_pools/app/controllers
      create  vendor/plugins/redmine_pools/app/helpers
      create  vendor/plugins/redmine_pools/app/models
      create  vendor/plugins/redmine_pools/app/views
      create  vendor/plugins/redmine_pools/db/migrate
      create  vendor/plugins/redmine_pools/lib/tasks
      create  vendor/plugins/redmine_pools/assets/images
      create  vendor/plugins/redmine_pools/assets/javascripts
      create  vendor/plugins/redmine_pools/assets/stylesheets
      create  vendor/plugins/redmine_pools/lang
      create  vendor/plugins/redmine_pools/README
      create  vendor/plugins/redmine_pools/init.rb
      create  vendor/plugins/redmine_pools/lang/en.yml
Edit vendor/plugins/redmine_pools/init.rb too adjust plugin information (name, author, description and version):
require 'redmine'

Redmine::Plugin.register :redmine_pools do
  name 'Pools plugin'
  author 'John Smith'
  description 'A plugin for managing pools'
  version '0.0.1'
end
Then restart the application and point your browser to http://localhost:3000/admin/info.
After logging in, you should see your new plugin in the plugins list:

Generating a controller
For now, the plugin doesn't do anything. So let's create a controller for our plugin.
Go back to the command prompt and run:
% ruby script/generate redmine_plugin_controller Pools pools index vote
      exists  app/controllers/
      exists  app/helpers/
      create  app/views/pools
      create  test/functional/
      create  app/controllers/pools_controller.rb
      create  test/functional/pools_controller_test.rb
      create  app/helpers/pools_helper.rb
      create  app/views/pools/index.html.erb
      create  app/views/pools/vote.html.erb
A controller PoolsController with 2 actions (#index and #vote) is created.
Edit app/controllers/pools_controller.rb in redmine_pools directory to implement these 2 actions.
class PoolsController < ApplicationController
  unloadable

  @@pools = [ {:id => 1, :title => 'First pool', :question => 'This is the first pool question', :yes => 0, :no => 0},
              {:id => 2, :title => 'Second pool', :question => 'This is the second pool question', :yes => 0, :no => 0} ]

  def index
    @pools = @@pools
  end

  def vote
    pool = @@pools.find {|p| p[:id].to_s == params[:id]}
    # saves the vote
    pool[params[:answer].to_sym] += 1
    flash[:notice] = 'Vote saved.'
    redirect_to :action => 'index'
  end
end
For the sake of this example, we simulate a pool model in our @@pools class variable.
We could of course use a ActiveRecord model just like we do it in a regular Rails app.
Then edit app/views/pools/index.html.erb that will display existing pools:
<h2>Pools</h2>

<% @pools.each do |pool| %>
  <p>
  <%= pool[:question] %>?
  <%= link_to 'Yes', {:action => 'vote', :id => pool[:id], :answer => 'yes'}, :method => :post %> (<%= pool[:yes] %>) /
  <%= link_to 'No', {:action => 'vote', :id => pool[:id], :answer => 'no'}, :method => :post %> (<%= pool[:no] %>)
  </p>
<% end %>
You can remove vote.html.erb since no rendering is done by the corresponding action.
Now, restart the application and point your browser to http://localhost:3000/pools.
You should see the 2 pools and you should be able to vote for them:
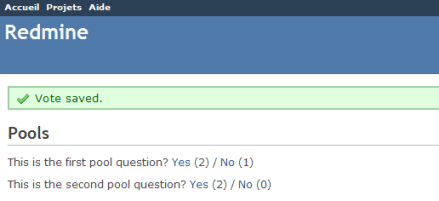
Note that pool results are reset on each request if you don't run the application in production mode, since our pool "model" is stored in a class variable in this example.
Extending menus
Our controller works fine but users have to know the url to see the pools. Using the Redmine plugin API, you can extend standard menus.
So let's add a new item to the application menu.
Extending the application menu
Edit init.rb at the root of your plugin directory to add the following line at the end of the plugin registration block:
Redmine::Plugin.register :redmine_pools do
  [...]

  menu :application_menu, :pools, { :controller => 'pools', :action => 'index' }, :caption => 'Pools'
end
Syntax is:
menu(menu_name, item_name, url, options={})There are 4 menus that you can extend:
:top_menu- the top left menu:account_menu- the top right menu with sign in/sign out links:application_menu- the main menu displayed when the user is not inside a project:project_menu- the main menu displayed when the user is inside a project
Available options are:
:param- the parameter key that is used for the project id (default is:id):if- a Proc that is called before rendering the item, the item is displayed only if it returns true:caption- the menu caption that can be:- a localized string Symbol
- a String
- a Proc that can take the project as argument
:before,:after- specify where the menu item should be inserted (eg.:after => :activity):last- if set to true, the item will stay at the end of the menu (eg.:last => true):html_options- a hash of html options that are passed tolink_towhen rendering the menu item
In our example, we've added an item to the application menu which is emtpy by default.
Restart the application and go to http://localhost:3000:
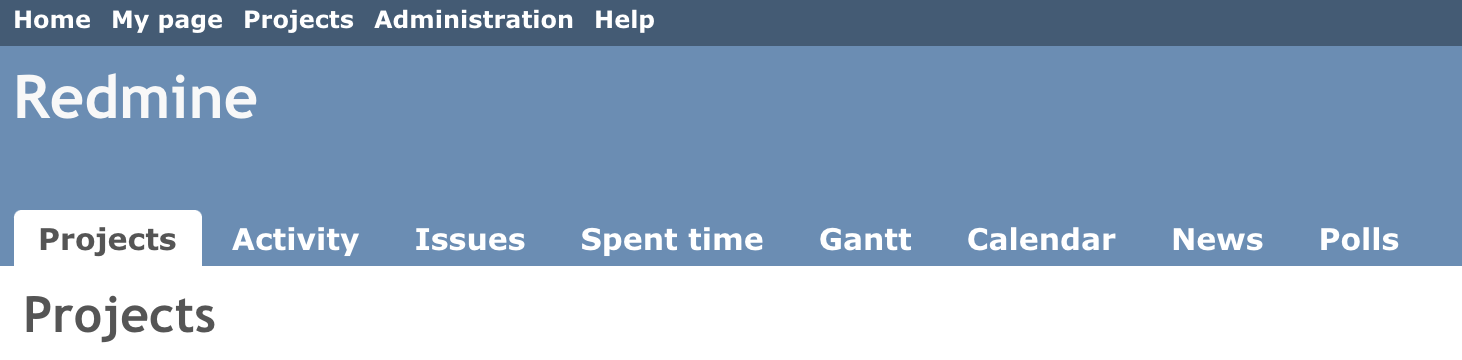
Now you can access the pools by clicking the Pools tab from the welcome screen.
Extending the project menu
TODO
Adding new permissions
TODO
Creating a project module
TODO
Updated by Jean-Philippe Lang over 17 years ago · 5 revisions